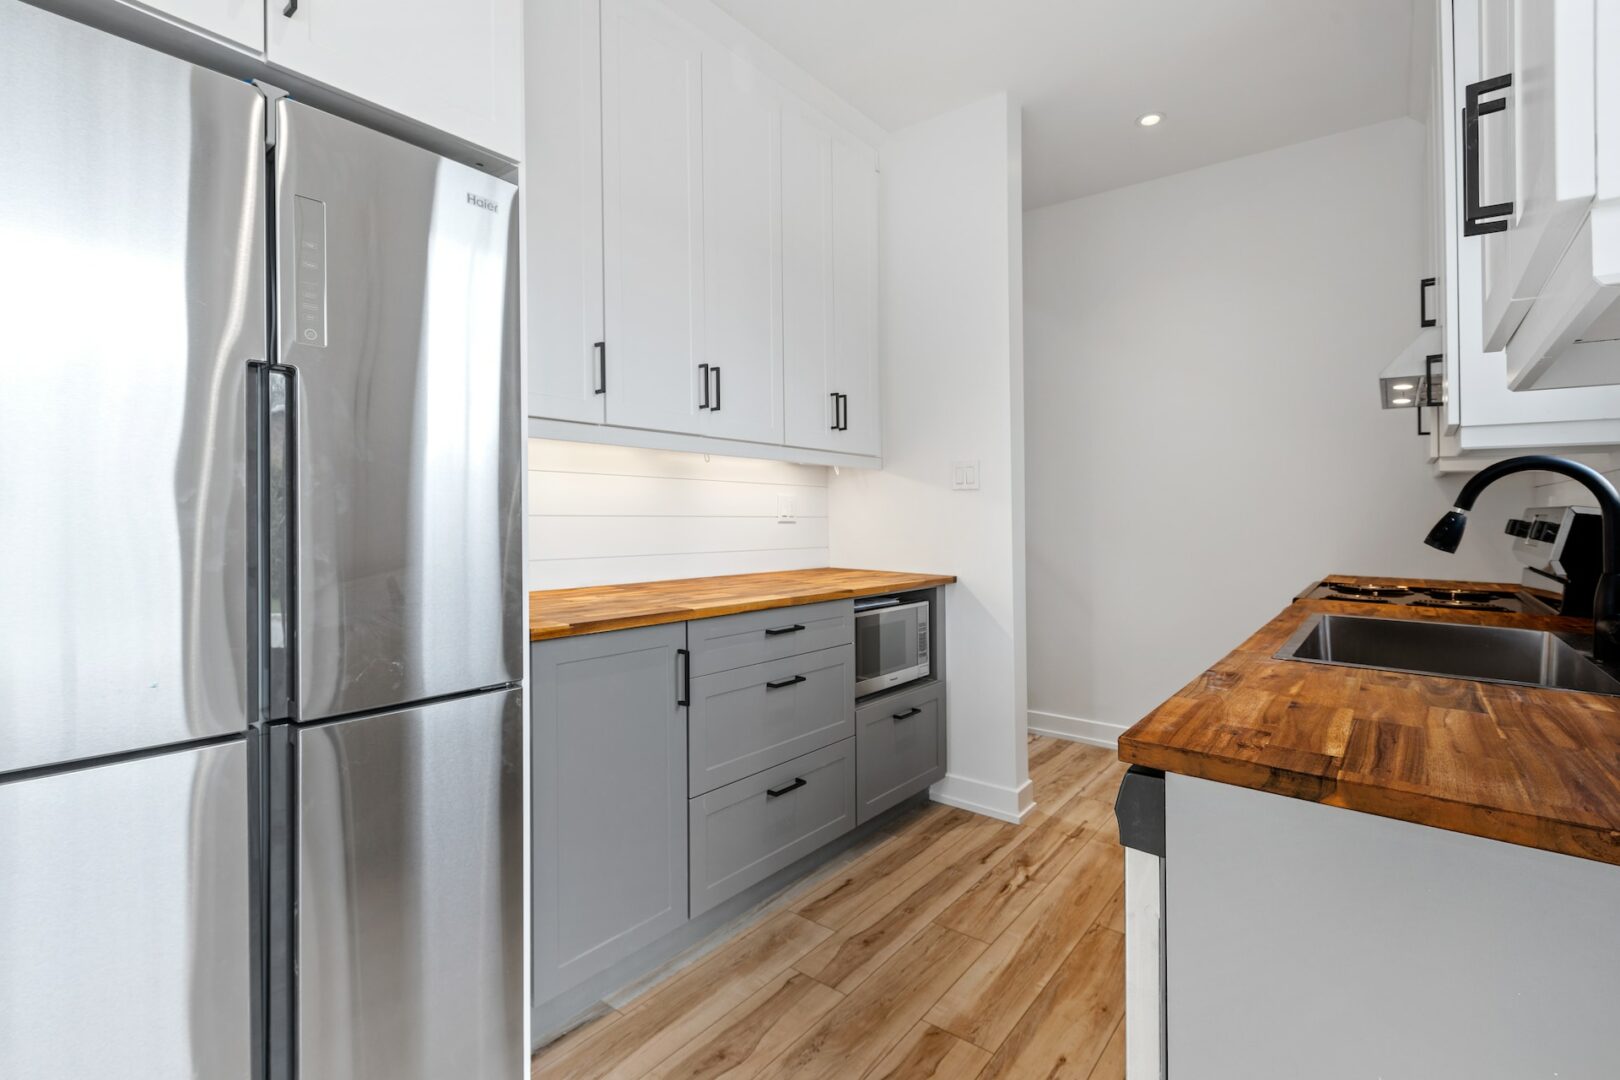
Shine On: Erase Stainless Steel Scratches with Ease!
Stainless steel is the preferred material in many high-end kitchens for a reason. It’s exceptionally durable and resistant to rust, heat, and corrosion; it’s easy to clean and hygienic due to its non-porous nature; it looks great and provides a modern, sleek aesthetic with beautiful reflections; and is versatile enough to be used for kitchen fixtures, appliances, and surfaces.
That being said, it’s not all sunshine and roses with stainless steel. First of all, it’s quite a bit pricier than other common materials used in the kitchen, and secondly, it’s prone to getting scratched or dented. While scratches on any type of stainless steel surface probably won’t affect the item’s performance –except on cooking surfaces– they’re an eyesore and could potentially harbour harmful bacteria if the scratch is deep enough.
Luckily, dealing with most scratches in stainless steel isn’t all that hard. With just 2 easily-found tools, you can quickly remove scratches from a stainless steel surface.
Since removing deep scratches –those that will catch your fingernails if you run your fingers across them– is significantly more challenging, we’ll focus on the typical light scratches that you’ll find on stainless steel appliances. We also won’t go into mirror-finish stainless steel, as this requires additional steps.
Step 1: Understanding Stainless Steel
Stainless steel is one material where a basic understanding of its manufacturing process and properties can really help you achieve the best results when attempting a repair job.
The vast majority of commercial stainless steel is referred to as #4 brushed stainless steel. Almost all of the stainless steel we find in our homes is #4 brushed. This steel is factory-sanded with 120-grit sandpaper, and importantly, this creates a grain in the steel. This grain always runs in a uniform direction, and when it’s scratched, you basically have to regain the surface to restore its factory look.
While this really is surprisingly easy, it’s important to note that regraining a small section of stainless typically doesn’t yield the best results. Even small differences between the factory-achieved grain and yours will stand out. This means that you get the best and most consistent results when you treat an entire surface (or face) at a time.
Step 2: Clean the area and get the supplies
Cleaning the area you want to de-scratch is the best way to start the actual process. This will remove any dust, dirt, or grime that might otherwise get embedded in the scratch, avoid further damage as dirt particles can act like sandpaper, and help ensure an even, consistent finish. A soft, lint-free cloth or non-abrasive sponge, warm water, and a mild soap such as dishwashing liquid should do the trick. Remember to rinse the area properly to remove any soap residue.
While there are stainless steel home-repair kits available, in this case, they might be a bit unnecessary. To fix light scratches in stainless steel, you only really need two incredibly cheap and easy-to-find (both in-store and online) hand pads (Scotch-Brite by 3M), a sanding block to wrap the pads around, and about an hour or so of elbow grease.
We recommend that you get one maroon pad (360P) and one grey pad (1500P). Any home improvement store or hardware store should carry these pads for around £4 to £5 a piece, and a pack of 10 will cost around £22 online. Automotive-part shops also typically carry these abrasive pads. You can use a wooden sanding block or the sponge-type sanding block if you already have one.
Step 3: Remove the scratch with the hand pads
The last step is to remove the scratch by reforming the grain on the entire clean and dry surface. Getting this exactly right isn’t hard, but make sure to follow these two guidelines to get the best possible results.
- Always sand along the length of the grain. Sanding perpendicular to the grain or in a circular motion will create grain patterns far more unsightly than light scratches. Make sure that every single stroke of the pad runs directly in the same direction as the rest of the grain.
- Do not sand in a forward and backward motion. When you change direction, you will invariably create a ‘hook’ pattern that you’ll then have to remove later. Working with evenly-pressured, long strokes, push forward with the sanding block and pad to the end of your comfortable reach, then lift your hand and return to the starting position.
Start with the Maroon 360P pad. A 1m2 surface (about the same size as a typical hood extractor) should take you about 30 minutes or so to evenly cover and reset the grain. When you can see that the original light scratches are buffed out, change to the grey 1500P pad and restart the same process. This high-grit pad will create the final shiny and reflective surface you associate with stainless steel after another 30 minutes.
When to leave it to the pros
While these common minor scratches take a bit of time and effort to remove, it’s definitely not the hardest DIY task to take on. Deeper stainless steel scratches are a different beast altogether, especially when you have to replace or re-fill missing material. These types of repairs are best left to professionals who have the specialised tools required for this job.
WeRestoreSurfaces can help you restore any type of hard surface or cosmetic damage to surfaces in your home. We have the skills and tools to take on even the most challenging fixes quickly and professionally.
CONTACT US
For more information regarding our services, please do not hesitate to contact us by giving us a call for a free quote. Alternatively, fill out the enquiry form and we will get back to you as soon as possible.
CALL US
For a free quote, call us on