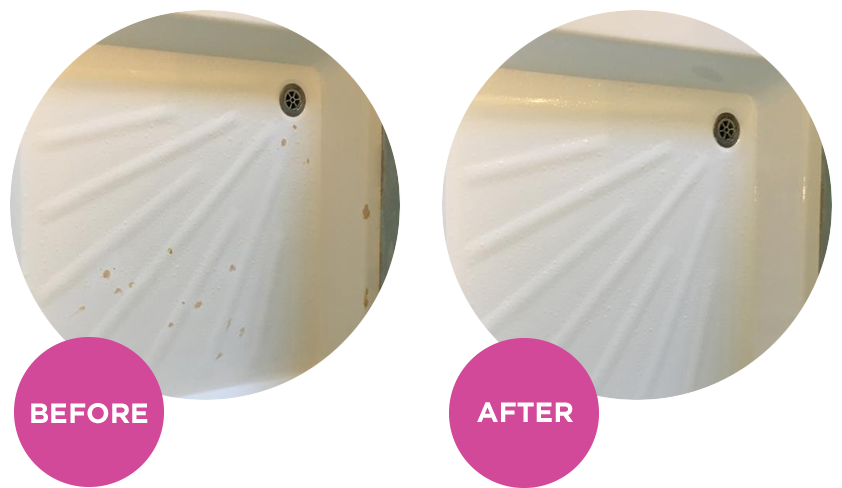
It’s easily done – you’ve dropped something like a heavy bottle in the shower and you’ve spotted a crack on your shower tray.
A crack in your shower tray is the kind of thing that will need to be mended immediately, so if you notice one, turn off your shower and don’t use it until it’s fixed. Any leaks going through to underneath could cause bigger problems.
If the crack in your shower tray is superficial, this is something you can fix yourself. Doing this will save you quite a bit of money as while you’ll need to buy the repair kit yourself, you won’t need to fork out for someone to come do the work for you.
If you’ve noticed a larger crack or cracks have started to appear for no reason, this might be a bigger issue. Your shower tray mightn’t be supported properly from underneath. If this is the case, don’t just repair the superficial cracks. You will need to get a professional to come take a look and fix the problem at the source before any further damage is made.
You will be glad to know that mending a superficial crack on a shower tray is a relatively quick and easy job to do. You can find shower tray repair kits online or in most hardware stores.
Step by step guide | How to repair a cracked shower tray
Because there is drying time involved, you will need to avoid using the shower for 24-42 hours. So just keep this in mind before doing your repair.
- Give it a good clean and assess the damage
Now that you’ve noticed your crack, make sure it’s just the one by giving it a good clean. It’s not unlikely that more, smaller cracks will have formed around the original crack, so give the area a proper clean to you can really assess the damage. Once thoroughly cleaned, make sure the shower tray is bone dry before doing the repair.
- Sand the affected area
Use some sandpaper to sand down the crack and the surrounding area and remove all debris and dust. Doing this will mean your repair patch and resin filler (which you will find in your repair kit) will adhere to the area properly.
- Trim your repair patch to size and lay it
Your repair patch is made of a fibreglass mesh and you can cut it roughly to size. To do this, just lay is over the affected area to get an idea of how much you need. You should be able to trim the excess away with scissors.
- Mix up your resin filler
Your repair kit will include all the ingredients to mix up the resin mixture that you will apply onto the mesh over your crack. Make sure to follow the instructions on the kit carefully as they will vary from kit to kit.
Always use the appropriate protective gear as these substances can be harmful to your skin and eyes. And, you’ll want to cover the area of the floor you’re working on to protect it from the dust or in case of any spills.
- Apply your resin filler
Once mixed, you will need to work quickly to apply the resin. Lay the mesh patch over the crack and add the filler over it, bit by bit. Make sure to pack it down into the crack and lay it on as thickly as you feel is necessary. It’s a good idea to be liberal with the mixture – you can always remove the excess later on when you are evening out the surface.
- Allow the filler to set
The resin mixture will take about 3 hours to dry, but if you are able to leave it overnight, this is a good idea – especially if the mixture is laid on quite thickly.
- Finishing up
When you are happy the filler has set completely, it’s time to finish off the job. Use sandpaper to remove any excess resin so that the material is flush with your shower tray. Take some time to remove any of the dust left from this completely as it could cause a blockage in your drain if it gets washed down.
You can then apply the finishing polish to the area. Once dried, the repaired area should go unnoticed. Your finishing polish should be left to set for at least 24 hours before you run the water again.
If you decide that this is a bigger job than you initially thought, or you’d like someone to get the job done properly for you, you can contact We Restore Surfaces here and we’ll be happy to help.