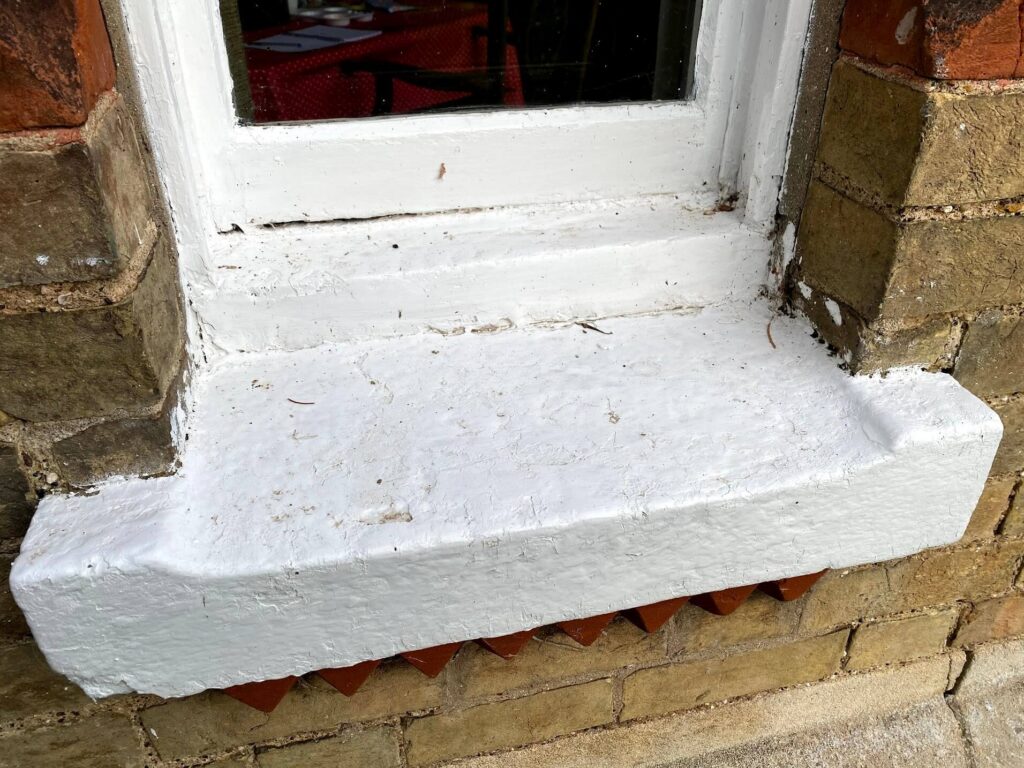
Window sills made of concrete tend to be found on older homes and buildings. They therefore may have seen some wear and tear over the years and might be in need of repairs if cracks have started to appear. Whether you’re new to the world of DIY, or you’re a more experienced handyman, you can repair a cracked concrete window sill easily, with the right tools and some guidance.
There are two main types of damage that your concrete window sills may have been subject to over time: these appear as horizontal surface cracks and vertical surface cracks. For repairs to last, it’s important to note that these need to be treated slightly differently – although the preparation is the same.
Preparing to mend a concrete window sill
Step 1: The surface needs to be clear of any debris. Use a stiff brush to rub the damaged areas to loosen up and lift any loose concrete.
Step 2: Next, you need to make the area as even as possible. To do this, sand the area with either a small handheld concrete sander or some rough-grit sandpaper.
Step 3: It’s important to rinse the window sill well so that you’re left with an exposed surface that’s ready to treat. Rinse to wash away the concrete dust that’s been left from the sanding process. It will need to dry completely before mending, so allow 2 full days for the concrete to dry out completely.
Repair type 1: Horizontal surface crack repairs
For horizontal cracks, use silicone latex caulk for small to medium sized cracks. For larger cracks or to resurface the area, use new concrete.
For small to medium sized cracks: With your bottle of silicone latex caulk, fit the narrow tip into each crack and overfill it by about ¼ inch. Then, spread and flatten the caulk with a small scraping tool or knife. Simply scrape away any excess mess.
For larger cracks, indentations or holes, or to re-define the corners and edges of your concrete window sill: You can use prepared concrete patches. To do this, place the concrete patches over the affected areas and gently push the product into the space using the corner of a scraper or trowel. Alternatively, you can use a tool like these to carefully build up the concrete patching on areas that need more of the product. Take your time to sculpt the shape, flatten and smooth out the concrete.
For resurfacing highly damaged or stained areas of concrete: If the area needs to be mostly covered, it’s best to resurface the whole area with new concrete. To do this, first apply some concrete bonding agent to the entire area using a paintbrush. Then, apply a layer of concrete with a trowel. You should aim for a 3/8 of an inch thick layer for the best result. Take your time doing this so as to keep the original shape of the window sill.
Drying time: You will need to make sure the area stays dry for 2-5 days, depending on the amount of new product you’ve used.
Repair type 2: Vertical surface crack repairs
For any vertical cracks, use epoxy to repair. You can find epoxy repair kits online or in most hardware stores.
Step 1: From your repair kit, insert the injection ports along the vertical cracks, pushing them into each crack as far as they’ll go. Place one port at each end of the crack and space the others about ½ of an inch apart from each other.
Step 2: Then, use a paintbrush to apply epoxy adhesive to any affected areas thoroughly. Take time to apply the adhesive as close to the ports as possible without applying on top of them. Wait about 5 minutes for the adhesive to become sticky.
Step 3: Then, fill the injection ports with the epoxy, working from the lowest port to the highest port. Stop filling each port when the epoxy is visible in the hole of the one above it. Next, cover each port with the caps.
Drying time: The epoxy will take 2-3 days to dry completely, depending on the thickness of the product.
Step 4: Once the epoxy has dried out completely, you can knock the injection ports out of the cracks. To do this, use a hammer to knock the ports at a 45 degree angle. The ports can then be pulled out of the cracks by hand. To clear up any mess, you can use your knife or scraping tool to remove it.