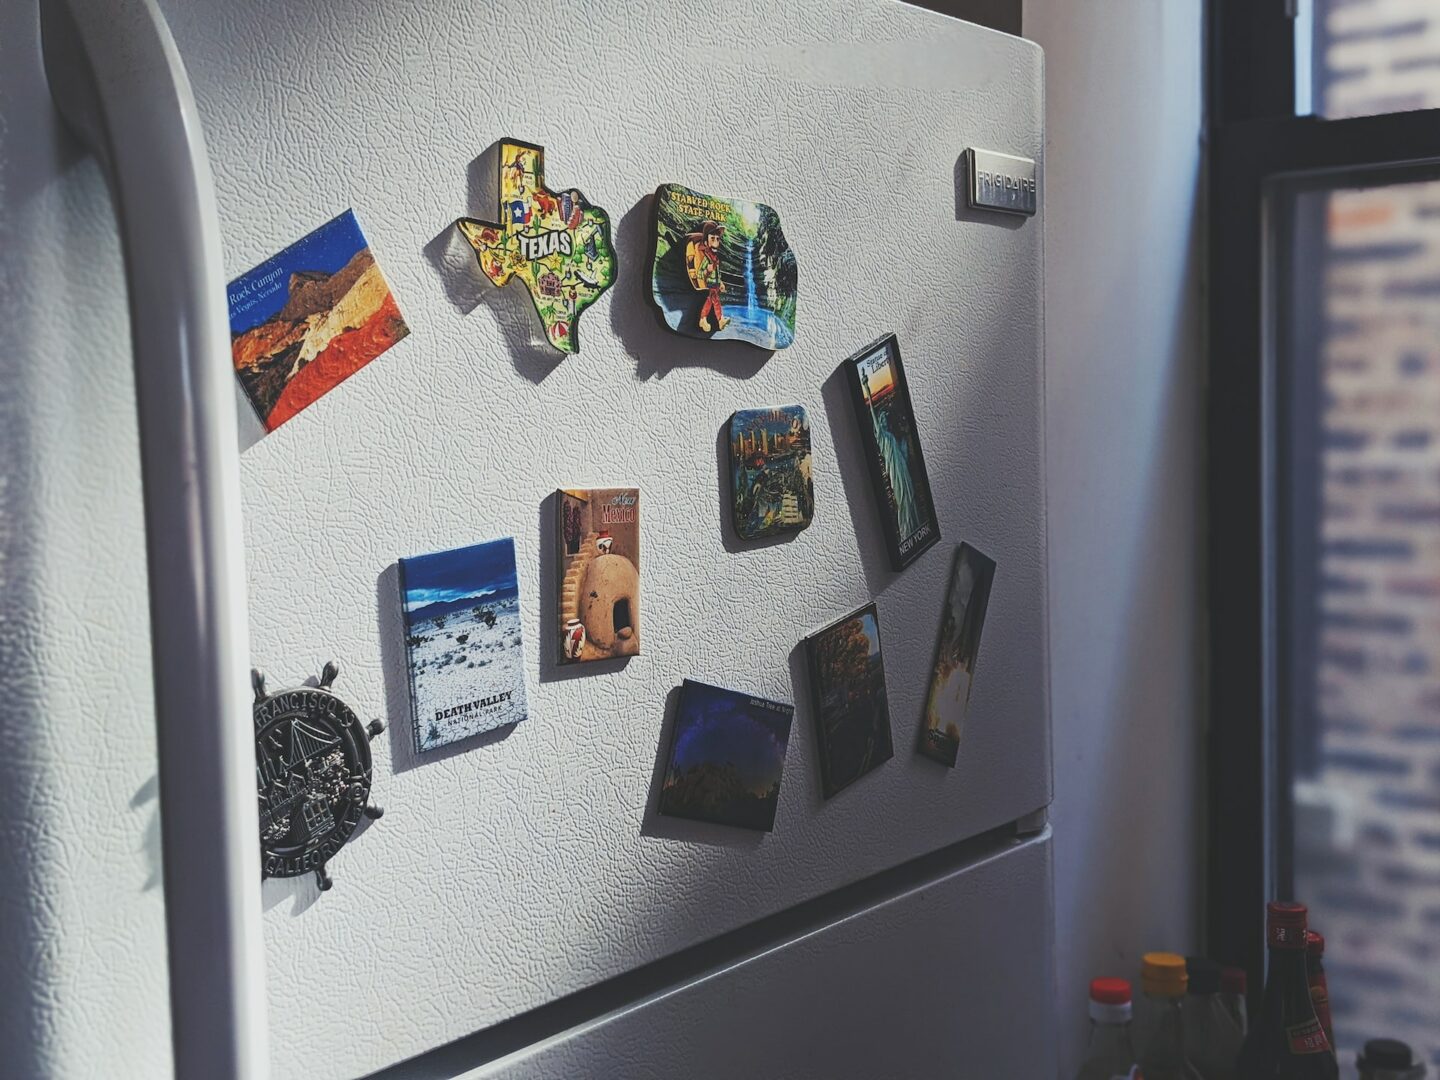
It’s easy to brush passed the fridge or freezer with something sharp in your hand and cause a scratch. Most of the time the scratches or even chips we cause accidentally will go unnoticed, but sometimes once you know that it’s there, you can’t stop noticing it.
Well, you’ll be glad to know that most blemishes on fridges and freezers can be repaired yourself with simple tools and materials and without needing to seek professional help. You can pick up kits designed just for this purpose online for the brand and colour of your fridge or freezer.
What supplies you need to repair a scratch on your appliance
- Appliance paint repair kit (if your damage is just a scratch)
- Appliance filler repair kit (for deeper damage like a chip taken out of the surface)
- Kitchen cleaner and a damp cloth or sponge
- Fine-grain sanding block or steel wool.
When it comes to your chosen repair kit, if you can’t get hold of a kit specifically for your brand or colour of appliance, find the closest colour you can and just make sure to test it out on a hidden area of your appliance first. Remember that the colour might look a little different when it’s fully dry.
Repair your appliance paint | Step-by-step guide
Step 1: Clean the area thoroughly
Use a kitchen cleaner to clean the affected area thoroughly. Your fridge might appear clean but all kitchen surfaces can gather dust and grease over time, so make sure the area is spotless so your repair kit will work effectively. The area must be completely dry before you begin the repair.
Step 2: Sand or fill (depending on the damage)
If it’s just a scratch: You can use some steel wood or a fine-grit sanding block to gently sand the affected area to smooth down any rough edges. When you’re finished sanding, make sure to remove all the debris with a damp cloth or sponge. Again, make sure the area is bone dry before you move onto the next step.
If your scratched appliance has a stainless steel finish, you can remove the scratches by rubbing a fine scouring pad in the direction of the grain (after it’s been sanded and cleaned). Then, you can apply a stainless steel cleaner or polish over the top.
If it’s a chip: If the damage is more than just surface level and you need to fill some space, you’ll need to use an appliance repair filler kit. Every kit differs so you’ll need to follow the instructions on your individual kit. Apply the repair mixture to the damaged area with the tool is included in your kit and let it dry out completely. Once it’s bone dry, you can sand down the area with a fine grain sanding block until it’s smooth to touch.
Step 3: Apply the repair paint
Take a moment to read the instructions on your paint bottle and make sure to shake the paint bottle thoroughly before you use.
It’s a good idea to apply the paint to the affected area in the direction of the scratch. This will help avoid any obvious brush marks once it’s dry. If the damage to your fridge is more severe, it might be a good idea to apply two or three coats of the repair paint. Just make sure to allow each layer to dry fully between coats.
We can restore your appliance surface
If the damage to your fridge or freezer is a little more substantial than just a scratch or chip, or you’d rather get a professional to do the job properly, we’ll be happy to help. Contact WeRestoreSurfaces here.
CONTACT US
For more information regarding our services, please do not hesitate to contact us by giving us a call for a free quote. Alternatively, fill out the enquiry form and we will get back to you as soon as possible.
CALL US
For a free quote, call us on